Making a game with Javascript: Part 2

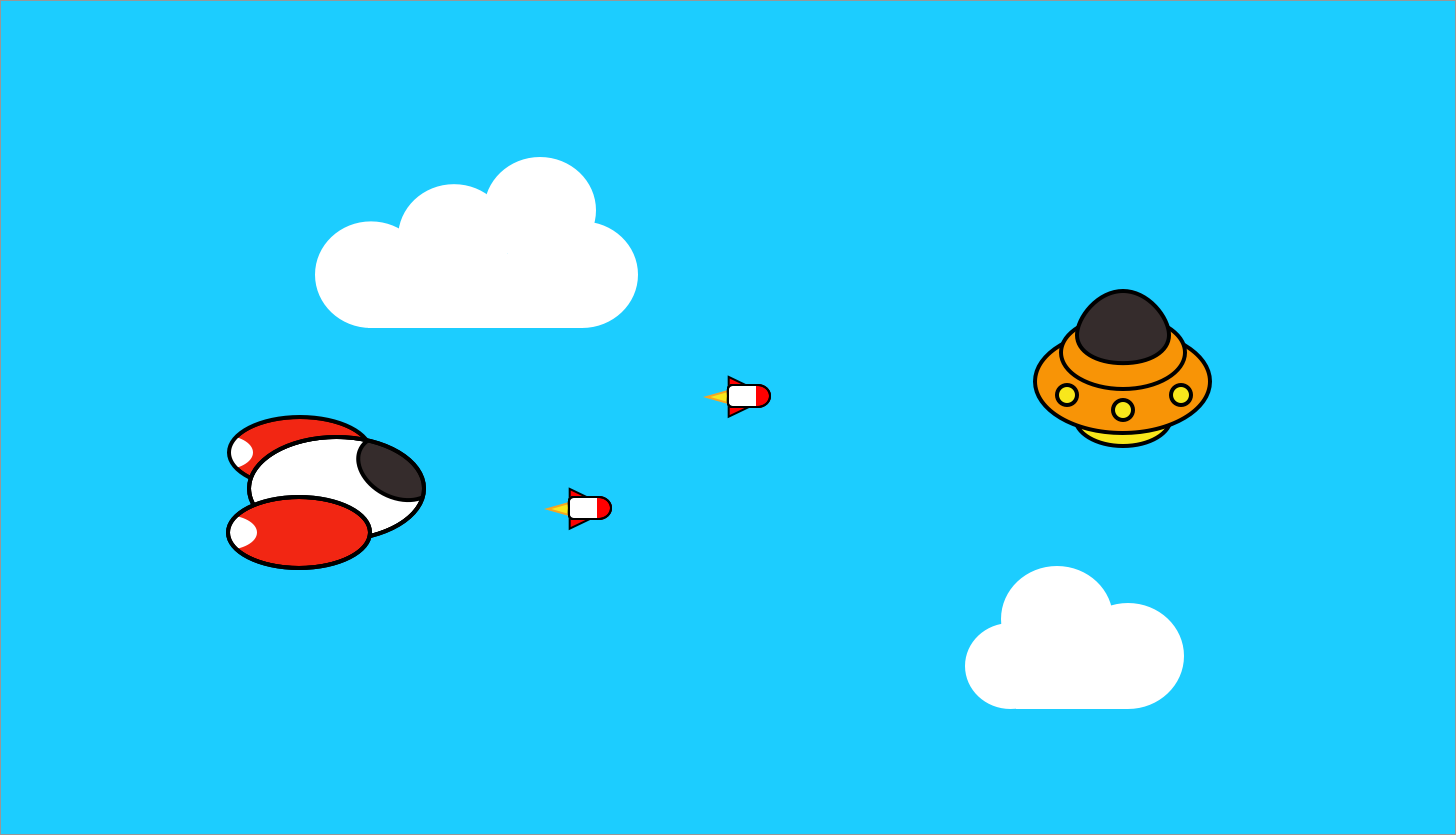
Hi everyone! This post is the second part of my tutorial to make a shoot'em up game with Javascript and Pixi.js. This time we are adding the player spaceship!
You can find the first part here:
https://baptistemenard.com/post/making-a-game-with-javascript-part-1/
For the complete source code of the following second part :
https://github.com/Karzam/Spaceship_Tutorial_Part_2
Creating the spaceship
Now that the background is done, we can finally start setting up our spaceship!
Let’s create a Player.js file in the src folder:
export default class Player extends Sprite {}The class is extending Pixi's Sprite class, because this object is basically intended to be a sprite.
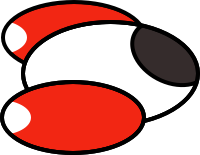
Here is a spaceship designed in a few minutes that you can add to your build/assets folder and in the loader function of index.js:
https://github.com/Karzam/Spaceship_Tutorial_Part_2/blob/master/build/assets/spaceship.png

loader.add([
  "assets/cloud_1.png",
  "assets/cloud_2.png",
  "assets/spaceship.png"
]).load(init);
We want this ship to appear near the left border of the screen. We also need its anchor (position point of the object) to be in the center of the sprite:
import { Loader, Sprite } from 'pixi.js'

export default class Player extends Sprite
{
  constructor(stage) {
    // Set spaceship texture
    super(Loader.shared.resources["assets/spaceship.png"].texture)

    // Setup the sprite anchor, scale and position
    this.anchor.set(0.5, 0.5);
    this.scale.set(0.33, 0.33);
    this.position.set(window.innerWidth * 0.1, window.innerHeight * 0.4);

    // Add it to the stage container
    stage.addChild(this);
  }
}
Once it's done, we need to create an instance of this Player, by adding it in index.js:
// Player entity
let player;

// First function called after loading assets is done
function init()
{
  app.renderer.backgroundColor = 0x22A7F0;

  // Init cloud manager
  cloudManager = new CloudManager(stage);

  // Init player spaceship
  player = new Player(stage);

  app.renderer.render(stage);

  loop();
}
Also, don't forget to import the file like it's been done for CloudManager.js.
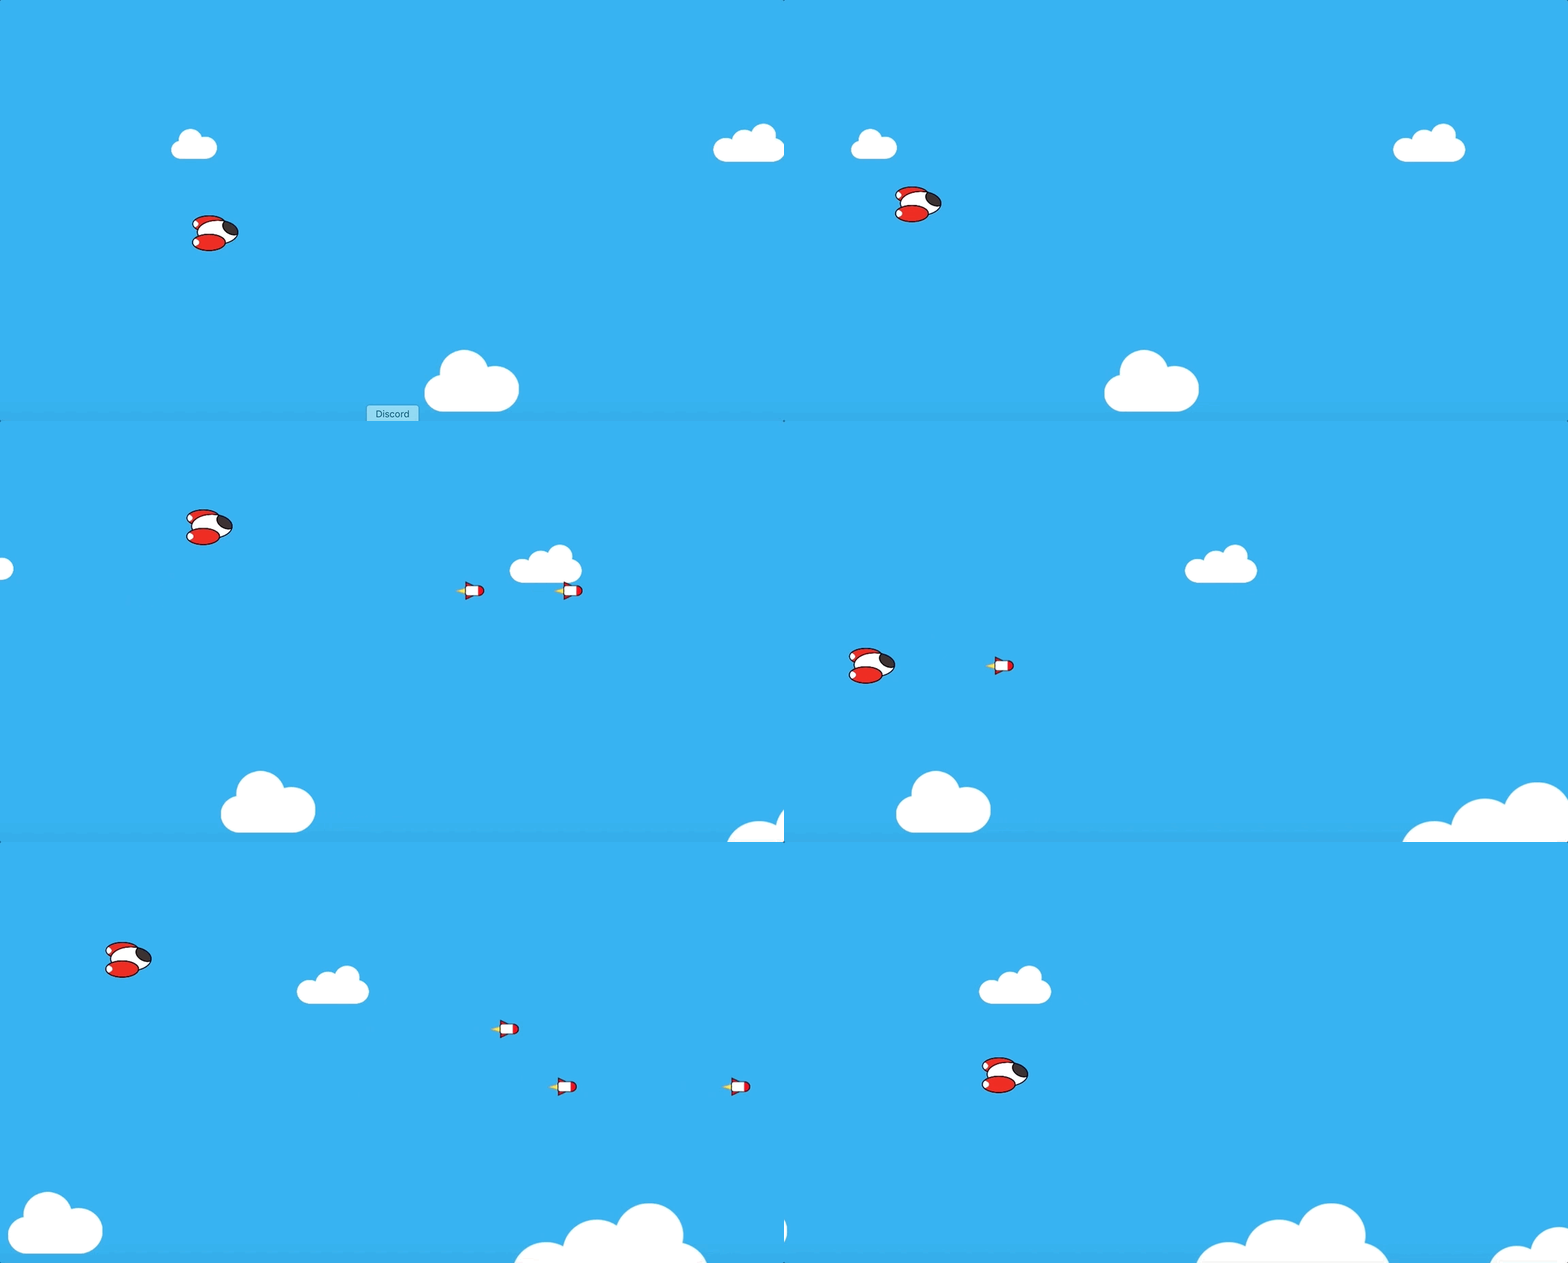
Now the spaceship should appear on your screen! Cool stuff, but let's make it move.
Moving the spaceship
Go back to Player.js and add some lines in the constructor:
// Current ship velocity
this.velocity = { x: 0, y: 0 };

// Ship speed
this.speed = 6;

// Contains the keys state (pressed / released)
this.keysState = { 37: false, 38: false, 39: false, 40: false };

// Listen to keyboard events
window.addEventListener('keydown', () => this.onKeyDown());
window.addEventListener('keyup', () => this.onKeyUp());
The velocity object contains the x and y directions that the ship will follow while being moved. We also define a move speed.
keysState's utility is to store the state of each arrow key: for example, 37 corresponds to the left arrow key, and each time the key is being pressed / released, we set it to true / false.
The two window.addEventListener methods allow the game to catch keyboard events (when a key is pressed and released). When one of this event occurs, the method at the end of each line is executed.
Here they are:
/**
 * Occurs when key is pressed
 */
onKeyDown(key) {
  const velocities = { 37: -1, 38: -1, 39: 1, 40: 1 };

  this.keysState[key.keyCode] = true;

  if (key.keyCode == 37 || key.keyCode == 39) {
    this.velocity.x = velocities[key.keyCode];
  } else if (key.keyCode == 38 || key.keyCode == 40) {
    this.velocity.y = velocities[key.keyCode];
  }
}

/**
 * Occurs when key is released
 */
onKeyUp(key) {
  this.keysState[key.keyCode] = false;

  if (key.keyCode == 37 || key.keyCode == 39) {
    this.velocity.x = 0;
  } else if (key.keyCode == 38 || key.keyCode == 40) {
    this.velocity.y = 0;
  }
}
In onKeyDown, first we set a constant variable with the key / velocity matches. 37 is the left arrow key, so the move direction applied to the speed should be negative, meanwhile the right arrow key (39) is positive. We pass the key state to true because it's pressed, and then we update the x or y velocity with the matching one in velocities.
In onKeyUp, the released key state is set to false. If it's an horizontal arrow, x velocity becomes 0, otherwise it's y velocity that we reset.
Now that the keyboard event callbacks are written, let's add the update loop of the player with the position changes depending on the velocity:
update() {
  let nextX = this.position.x + this.velocity.x * this.speed;
  let nextY = this.position.y + this.velocity.y * this.speed;

  // Prevent from leaving the screen
  if (nextX > 0 && nextX < window.innerWidth) {
      this.position.x = nextX;
  }
  if (nextY > 0 && nextY < window.innerHeight) {
      this.position.y = nextY;
  }
}
There is a little check we need to perform, in order to be sure that the player doesn't fly out of the screen limits. So we compute the next x and y positions of the ship, and if these positions are not forbidden, we apply them.
Last step for the ship to move, is to call its update method in index.js:
function loop()
{
  cloudManager.update();

  player.update();

  requestAnimationFrame(loop);

  app.renderer.render(stage);
}
If you save, the ship should be able to move in your browser!
Note: There are multiple ways of handling the keyboard controller, I made it simple here but we could use a new class to abstract events.
Fire, fire
Now that the ship is moving, it could be nice to make it fire rockets. There will be lot of them popping, so we can rely on CloudManager principles, with the ability to instantiate objects. We will use this manager to create new rockets from Player.js.
Start by adding the new rocket.png texture in build/assets folder, and import it in the loader function of index.js:
https://github.com/Karzam/Spaceship_Tutorial_Part_2/blob/master/build/assets/rocket.png

loader.add([
  "assets/cloud_1.png",
  "assets/cloud_2.png",
  "assets/spaceship.png",
  "assets/rocket.png"
]).load(init);
And add a new RocketManager.js file:
import { Loader, Sprite } from 'pixi.js'

export default class RocketManager
{
  /**
   * Create new rocket to the given position
   */
  createRocket(stage, position) {
    const rocket = new Sprite(Loader.shared.resources["assets/rocket.png"].texture);

    // Setup the sprite anchor, scale and position
    rocket.anchor.set(0.5, 0.5);
    rocket.scale.set(0.5, 0.5);
    rocket.position.set(position.x, position.y);

    stage.addChild(rocket);
  }
}
This class contains a createRocket method, that adds a new rocket on the stage at the given position.
We also set the anchor and scale of the sprite as usual.
Go back to the player constructor and update this.keysState to add the space bar (number 32):
this.keysState = { 32: false, 37: false, 38: false, 39: false, 40: false };We add a state to this key because what we want is the spaceship to keep firing when the key is pressed, and not having to release and re-press the key.
Let's add two new state variables in the constructor, a canFire boolean and a fireDelay number:
// Is fire delay over
this.canFire = true;

// Delay between 2 rockets fire (in miliseconds)
this.fireDelay = 500;
Import RocketManager.js and assign an instance in the player constructor:
// Spaceship rocket manager
this.rocketManager = new RocketManager();
...and add two new methods inside Player.js:
/**
  * Update rocket firing
  */
updateFiring() {
  // If space bar is pressed and fire delay is over
  if (this.keysState[32] && this.canFire) {
    // Create new rocket (with x axis shift so it's popping in front of the ship)
    this.rocketManager.createRocket(this.stage, {
      x: this.position.x + this.width / 2,
      y: this.position.y
    });

    // Reset delay needed to fire
    this.resetFireDelay();
  }
}

/**
  * Called when player just fired (reset fire delay timer)
  */
resetFireDelay() {
  this.canFire = false;

  setTimeout(() => this.canFire = true, this.fireDelay);
}
The first one, updateFiring, is intented to be called in the update loop and detect when the space bar is pressed and the fire delay is over. If these conditions are met, it creates a new rocket with the class we added before, passing the stage instance and a position just in front of the spaceship (so it's not appearing in the middle). Just after, we need to reset the delay by passing the canFire boolean to false, and calling a setTimeout javascript function. Basically, it starts a timer and sets canFire to true when fireDelay is over.
Don't forget to call updateFiring in update:
update() {
  this.updateFiring();

  let nextX = this.position.x + this.velocity.x * this.speed;
  let nextY = this.position.y + this.velocity.y * this.speed;

  // Prevent from leaving the screen
  if (nextX > 0 && nextX < window.innerWidth) {
      this.position.x = nextX;
  }
  if (nextY > 0 && nextY < window.innerHeight) {
      this.position.y = nextY;
  }
}
If you save and press the space bar in your browser, you should get rockets popping!
But wait, these rockets are not really moving. We need to store the list of instantiated rockets, in order to move them in a RocketManager.js update loop:
export default class RocketManager
{
  constructor() {
    this.list = [];
    this.speed = 12;
  }

  /**
   * Create new rocket to the given position
   */
  createRocket(stage, position) {
    const rocket = new Sprite(Loader.shared.resources["assets/rocket.png"].texture);

    // Setup the sprite anchor, scale and position
    rocket.anchor.set(0.5, 0.5);
    rocket.scale.set(0.5, 0.5);
    rocket.position.set(position.x, position.y);

    // Store rockets in a list
    this.list.push(rocket);

    stage.addChild(rocket);
  }

  update() {
    // For each rocket in the list, move it
    this.list.forEach(element => {
      element.position.x += this.speed;

      // If out of the screen zone, destroy and remove from the list
      if (element.position.x > window.innerWidth) {
        element.destroy();
        this.list.splice(this.list.indexOf(element), 1);
      }
    });
  }
}
It's almost the same as CloudManager, it keeps a list of all the instantiated elements, and iterates on the list to make them move.
Note: For simplicity we are destroying and recreating the rockets, but we could also make a pool of reusable objects like we did for the cloud manager, to increase performance.
Finally, call this update method in Player.js:
this.rocketManager.update();Now the rockets should be moving!

You can find the whole source code here:
https://github.com/Karzam/Spaceship_Tutorial_Part_2
And if you have any questions, you can reach me at bapmenard@gmail.com
Next part soon: adding the enemies!
Thank you for reading this tutorial!
